Introduction
EVE-NG (Enterprise Virtual Environment - Next Generation) is a network emulation platform used for creating and testing complex network topologies in a virtualized environment. It allows users to simulate networks of various sizes and configurations, enabling them to test and troubleshoot networking setups without the need for physical hardware.
Installation
The steps below show how to get EVE-NG running with VMware Workstation Player and how to load "qemu" images into the lab environment with WinSCP. The images need to be obtained from the software/hardware vendors and may be necessary to be purchased.
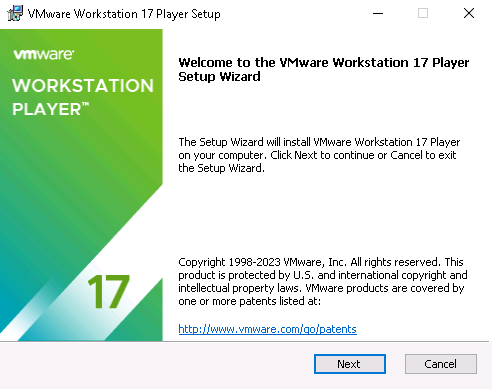
Download & install VMware Workstation Player. This is the free version and can be downloaded from the official website: Click here to open the VMware website.
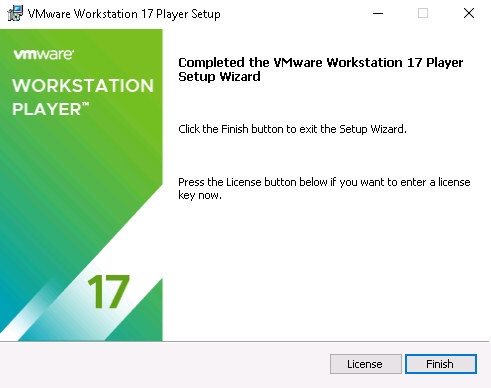
Use the default values and click next until the installation finishes.
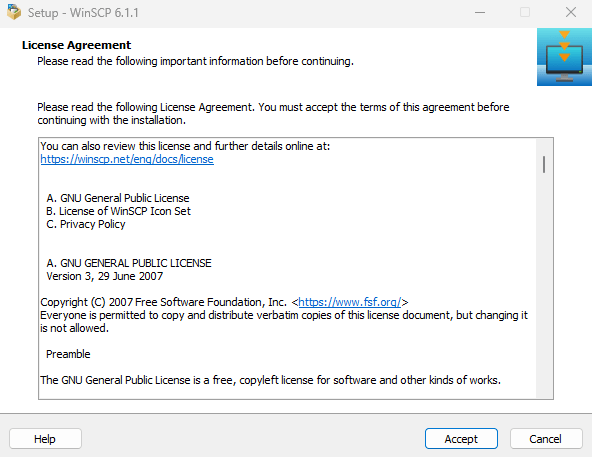
Download & install WinSCP. It is free as well and can also be downloaded from the official website: Click here to open the WinSCP website.
Download the free “EVE Community Edition Version” and download the “OVA” image package. Click here to open the EVE-NG website.
The network device images need to be obtained from the specific vendors directly. Some vendors offer their images for free or for a fee.
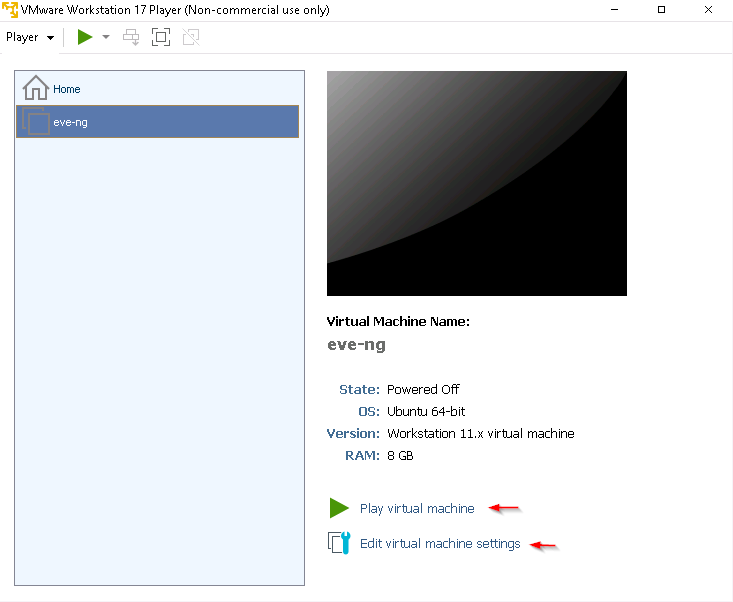
Open WMware Workstation Player and open an existing virtual machine.
Seach for the EVE-NG folder and open the “OVF” file.
The virtual machine can be named and the location of the VM can be changed if necessary.
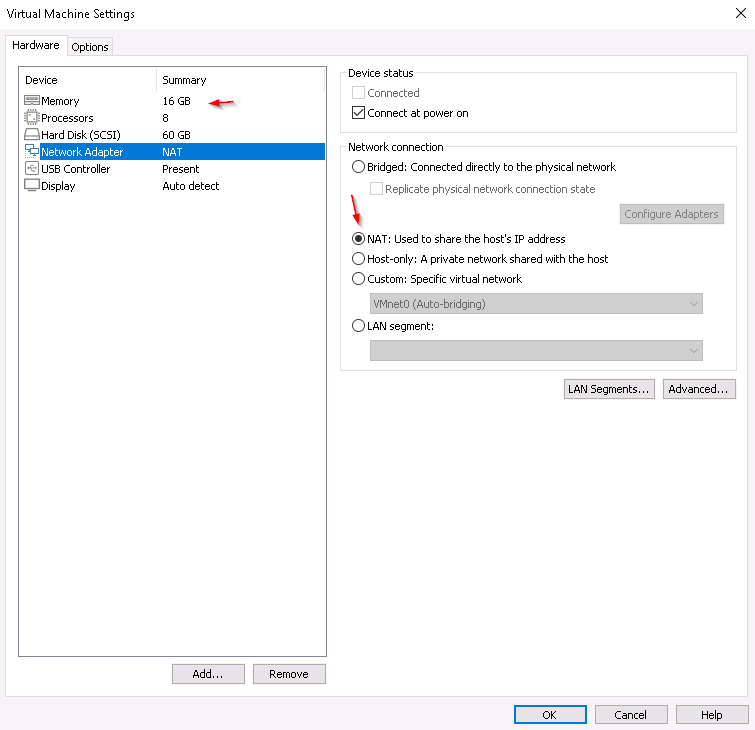
The VM settings can be changed before starting EVE-NG. Depending on the available hardware more resources can be provided to the VM.
The local system is a workstation with enough RAM & CPU power. Therefore, 16GB RAM, & 8 CPU cores are allocated in this example. Furthermore, the network settings have been changed to “NAT” here. More information about configuration settings can be found here at the official page.
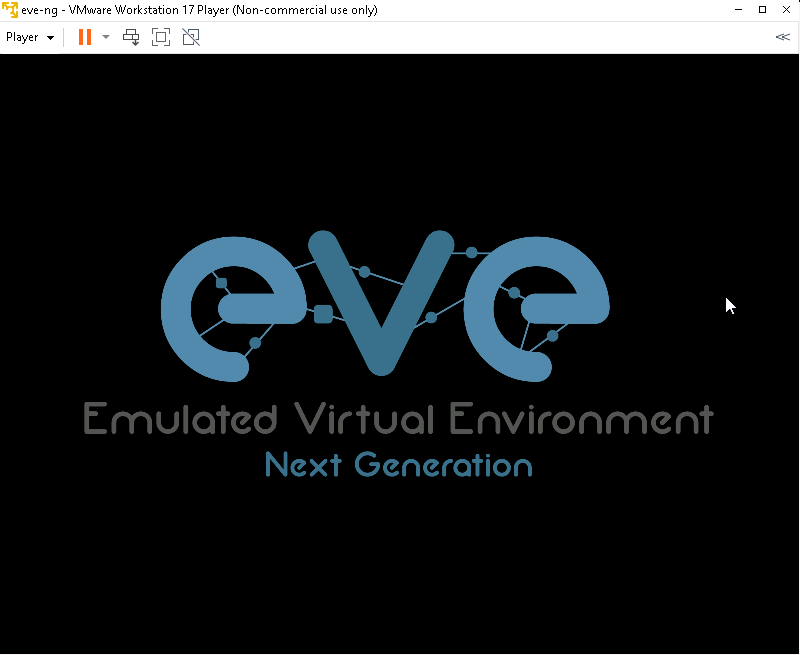
After that the VM can be started.
After booting the EVE-NG VM will show the IP address to reach the WEB UI.
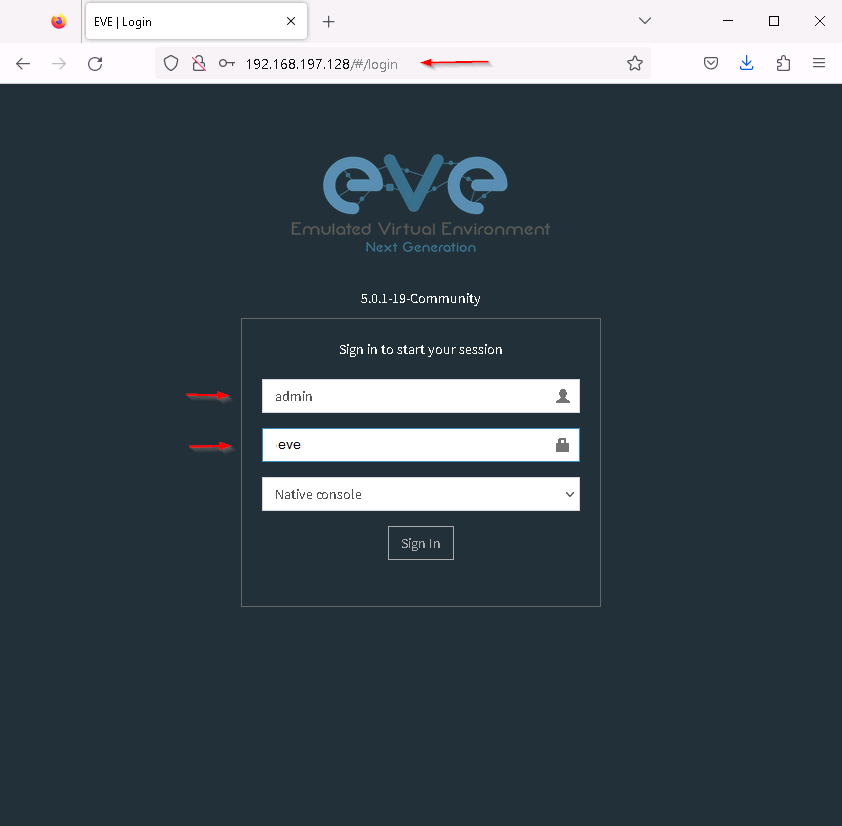
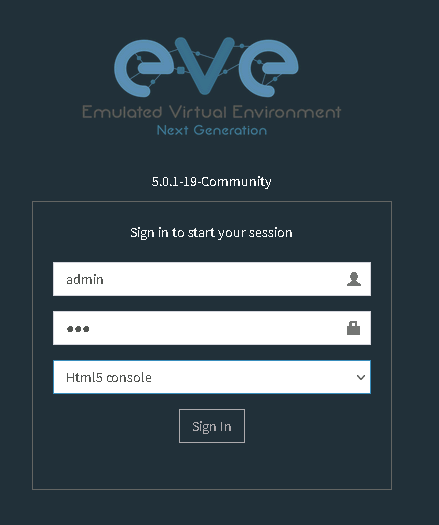
Open a WEB browser and use the IP address to open the WEB UI. The default credentials are “admin” & “eve” to login to the system.
Use the “Html5 console” to open the CLI interfaces of the network devices easier later.
The main window will appear. A new folder and a new project can be created.
Create a new folder.
Create a new LAB with the second icon below the folder name.
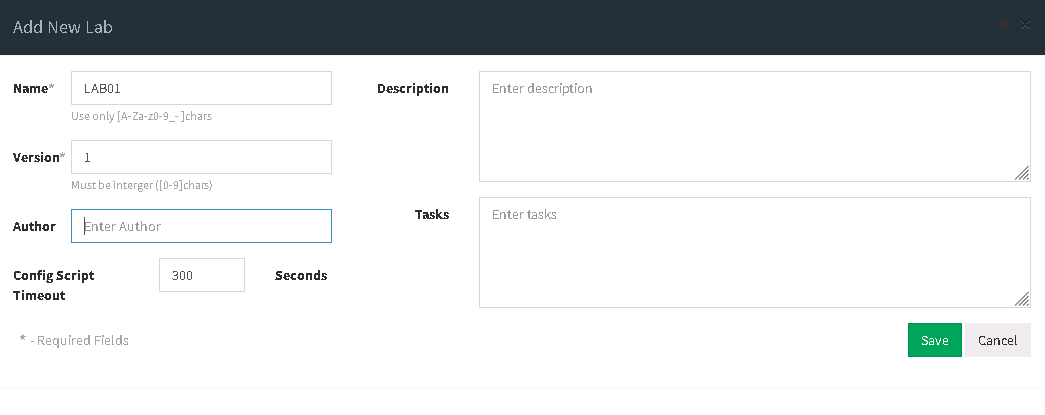
Define a name for the LAB. Additional information can be written into the fields below and on the side. Click on “Save” to close the window and to open the LAB.
The “+” sign can be used to add devices to the LAB, but there are no images imported yet. The next chapter will show how to import “qemu” images to EVE-NG.
QEMU Images
QEMU (Quick Emulator) is an open-source software that provides hardware virtualization. It allows you to create and run virtual machines on a host system, effectively emulating different hardware platforms. In the context of networking, QEMU can be used to run virtualized versions of network devices such as routers, switches, and firewalls.
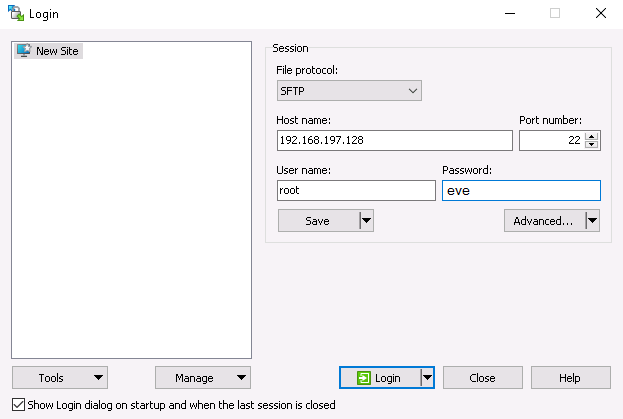
Open WinSCP and start a SFTP session with the running EVE-NG VM. The picture below shows how the settings are used to start a connection.
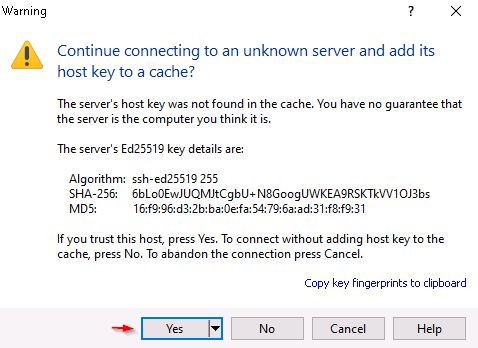
Trust the host to establish a connection.
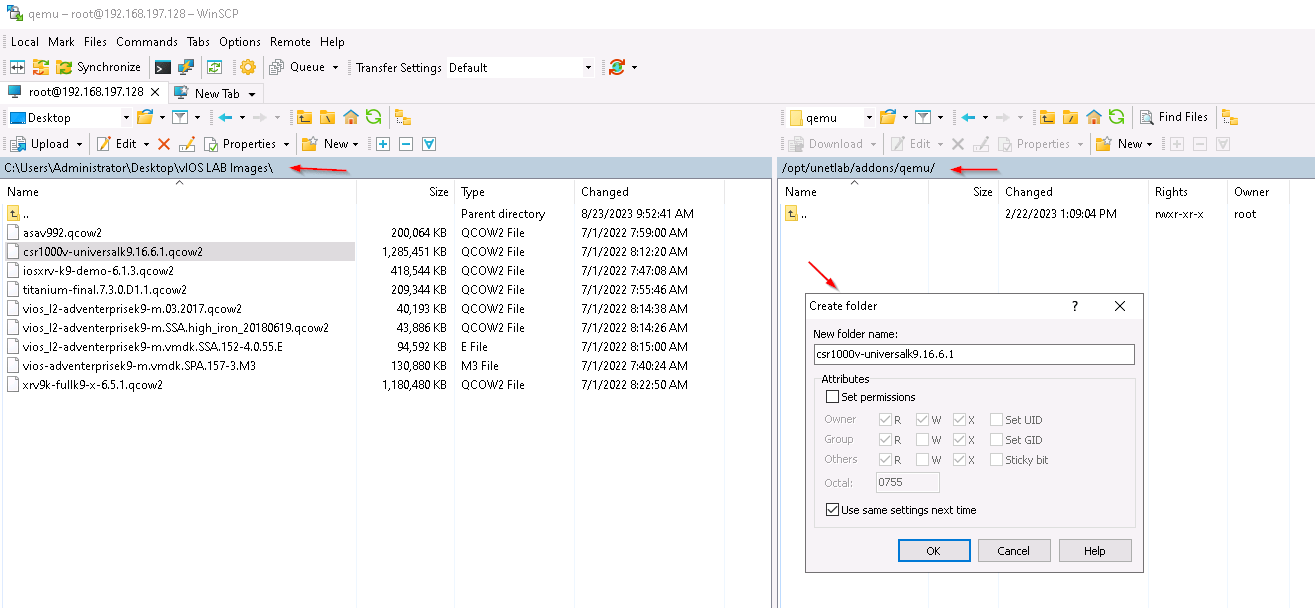
After that, open your local folder with the images on the lefthand side. Navigate to /opt/unetlab/addons/quemu on the EVE-NG VM side of the WinSCP window. Create folders and name them the same way as the “qcow2” images.
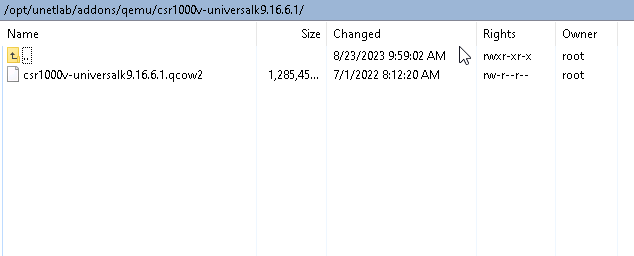
Copy the “qcow2” images into the new folders with the corresponding names.
Rename the images as explained in the official EVE-NG documentaction. Click here to view the official documentation.
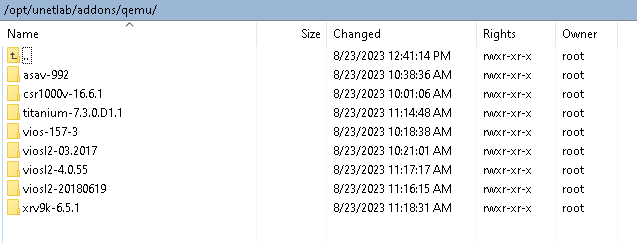
After that, rename all the folders as explained in the official documentation. The picture below shows how the image folders need to be named to work in EVE-NG. Click here to view the official documentation.
Every folder needs to be named as shown in the picture above, and after every hyphen symbol the software version of the image needs to be written into the folder name. Every folder contains the actual image, that need to be renamed as explained in the EVE-NG image name documentation. Only then EVE-NG is able to show and work with the images.
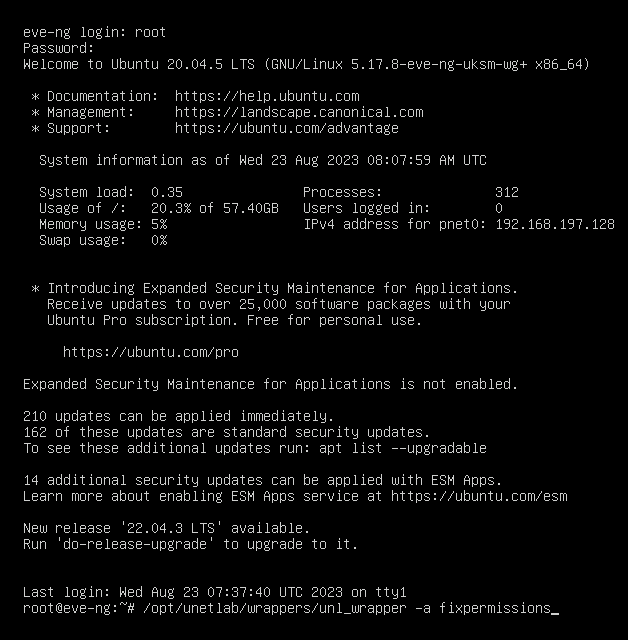
If there are problems with permissions log into the EVE-NG VM and use the command “/opt/unetlab/wrappers/unl_wrapper -a fixpermissions”. The default credentials for the EVE-NG CLI are “root” & “eve”.
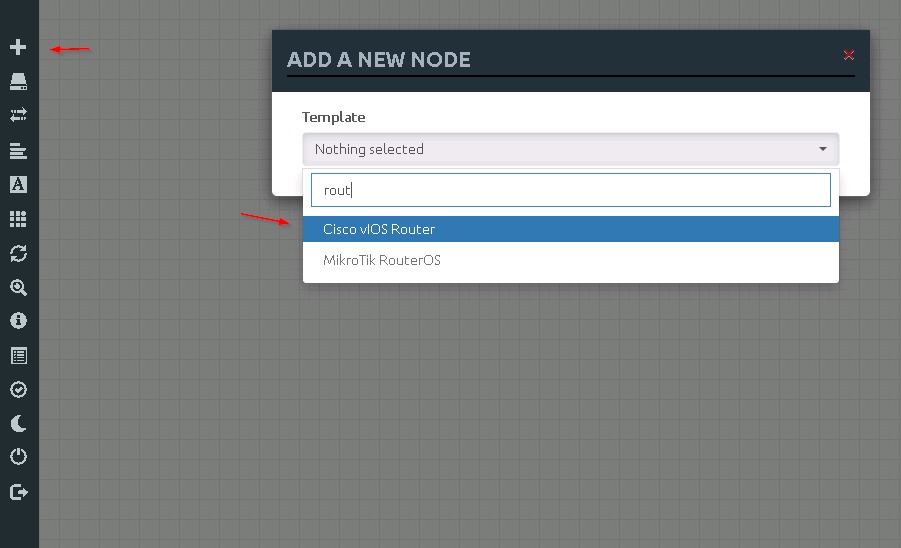
After importing the images to EVE-NG, open the LAB and use the “+” symbol to add a new node and try to start a new device.
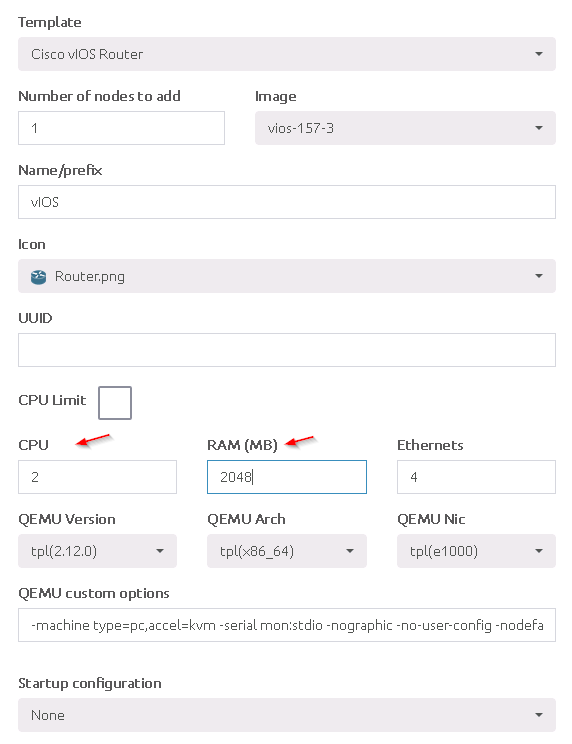
The number of CPUs, RAM, Ethernet ports and number of nodes can be used to create multiple and faster nodes to work with in the LAB environment. These settings can be used depending on the resources of the local system.
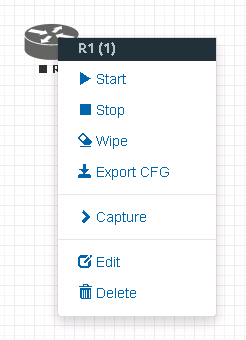
Start the new node and try to open the CLI window.
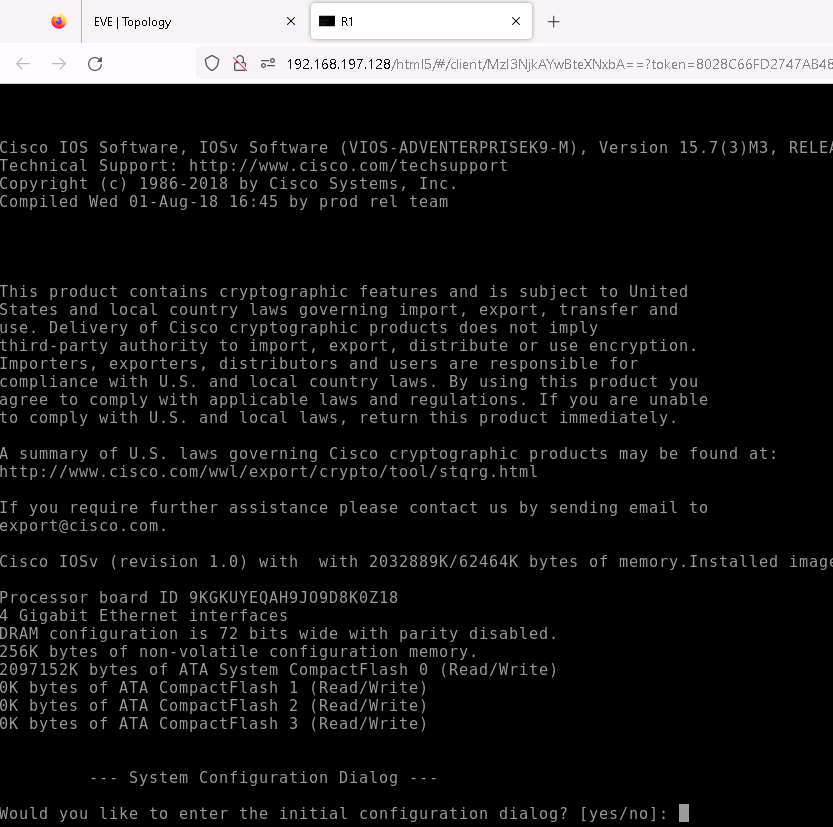
If the “Html5 console” has been used as explained before, every new CLI session is opened in a new browser tab.
A router node has been added to the LAB and it shows the initial configuration dialog.









0 Comments